TOY STORY PARTY FOOD LABELS

Screen Shot 2020-08-24 at 4.52.10 PM.png

These Toy Story printable food labels are perfect for your next party! You’ll get six large labels to make fun themed party food! (Buzz’s Blasters, Bo Peep’s Sheep, Woody’s Round-up Ropes, Jessie’s Critters, Mr. Potato Head Bar and Green Alien Food). I hope you enjoy these as much as we did! You can purchase them HERE.

Screen Shot 2020-08-24 at 4.53.20 PM.png

We used Sweet Tart Ropes for Woody’s Round-up Ropes, animal cookies for Jessie’s Critters, sheep cookies for Bo Peep’s Sheep, water gun party favors for Buzz’s Blasters, a potato bar for Mr. Potato Head Bar and green generic candy for the Green Alien Food. The kids all loved it for such a fun Toy Story party!

Screen Shot 2020-08-24 at 4.53.46 PM.png

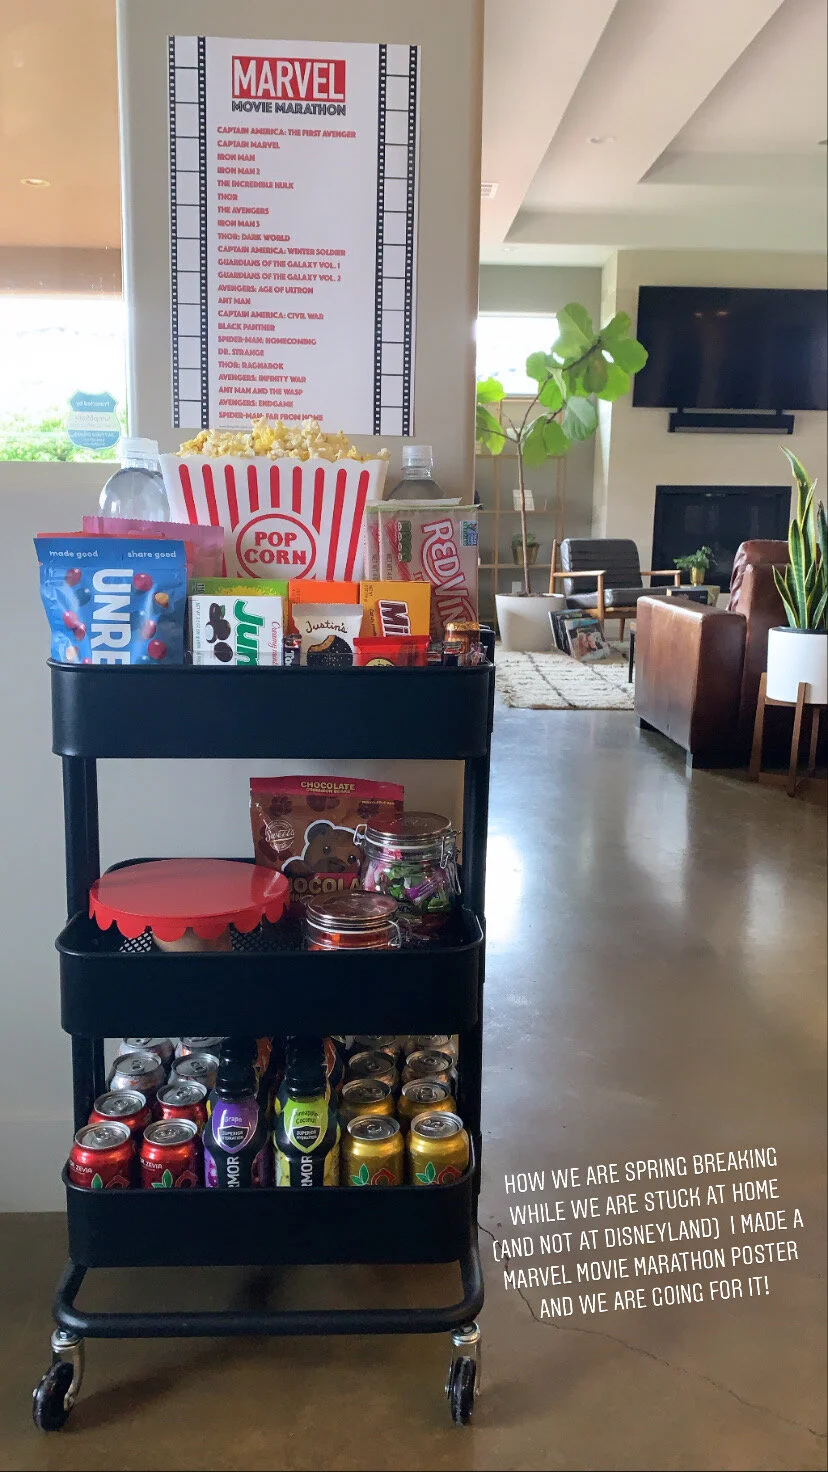
MARVEL MOVIE MARATHON POSTER

This Marvel Movie Marathon poster is perfect for when you want to work your way through the Marvel movies in chronological order (not in the order they were filmed/created but in the order they would have chronologically happened). Note: If you haven’t every seen them you may want to work through them based on the years they were filmed.

I have attached 3 color versions (11x17 and also 8.5x11) and 2 black and white versions (11x17 and 8.5x11) (they vary because commercial printing shops can not print the marvel logo and icons without permission…so pick which one you like best and either print it yourself or send it to a printer).

I created this when I realized we had to cancel our spring break trip due to COVID-19. This will give us something to look forward to each evening as we will be primarily self-quarantined at home. I bought a bunch of goodies and put everything together to pull out of the pantry when it is movie time! Hope you enjoy it! You can download it here.

9E44C551-EF63-441F-8D45-5A58617CCCC5.JPG

I have attached a black and white version you can print at home for personal use and one large color 11x17 that you could send to a printer (they vary because commercial printing shop can not print the marvel logo and icons without permission).

LEGO BIRTHDAY PARTY WITH EDIBLE LEGO, PARTY FAVORS AND GAME IDEAS.

LEGO PARTY (1).jpg
IMG_1911.JPG

Vaughn wanted a lego party this year so we went for it! (You know I love a theme!) We made edible lego, played with lego, raced lego cars and had so much fun!

Read below to find out the best (and worst) edible lego, a few fun activities and party favors.

HARRY POTTER PARTY Copy 2.jpg
IMG_1882.JPG

I bought some silicone lego-shaped molds on amazon and used those to make suckers, candies and cupcake toppers. Here are a few of my suggestions:

The lego blocks and minifigures using Wilton candy-melts were so easy and turned out great. Just buy the colored bags of Wilton Candy melts. Simply melt the candy in the microwave ...pour into molds and then chill. I was amazed at how easy it tuned out.


We melted jolly rancher candy into the other molds (in the oven) to make little and giant lego men. This was easy but time consuming (you have to melt them and then let them cool totally before you can use the mold again) and some of the lego guys had really sharp edges. I'm not sure I would do this again. I'd probably stick with the easier candy melts that pop-out and have no sharp edges. Also it is currently 150 degrees where I live so having the oven on all day was 🔥

IMG_1887.JPG


IMG_1863.JPG

The candy lego I found on amazon in bulk was a big hit. I did little bags of it for the kids to take home for later. Easy and inexpensive.

LEGO PARTY (3).jpg
LEGO PARTY (4).jpg


For the Lego Party Favors/activity I went to the lego store and grabbed one of their picked-your-own lego containers for $15 for the whole party to share. I stuffed it full of pieces so that each child would receive the exact same pieces but could build whatever they want. I found these acrylic containers at The Container Store and each kid got to make a little lego creation to take home.

LEGO PARTY Copy (2).jpg

The best activity was this...I took a folding banquet table and only unfolded one-side of the legs to make a ramp (does that make sense?). I covered the table in wrapping paper and made lanes and wrote start/finish. We also taped things to the sides (like plastic pieces you put together to make a fort) and a lane down the middle so the cars wouldn't just fly off or cross the lanes. Then I brought out a bunch of Vaughn's legos and everyone got to build a car to race down the ramp. This was the best idea do the party because the kids all just sat there quietly building and having a great time.

Hope you’ve enjoyed reading about our ultimate lego party and got some fresh new ideas for a party of your own!

xoxo

Heather

LEGO PARTY.jpg

PRINTABLE SUMMER RULES

SummerRules.png

We need a little balance and structure in our home during summer. I’ve created this fun little printable to help us stay on track and allow the kids a limited amount of screentime.

You can download my HELLO SUMMER printable here!

For our family I prefer them to have their screentime first thing in the morning. It allows me to exercise and accomplish what I need to while they relax in the morning. Then we have the rest of the afternoon to leisurely complete all the tasks rather than rush through them. So…if they accomplish their tasks and mark everything off then they earn screentime for the next day! It’s worked great so far!

Summer Rules3.png

I created three versions:

1- 8.5x11 with wording where it says “THEN I WILL EARN SCREENTIME” at the end

1- 8.5x11 with wording where it says “THEN TOMORROW MORNING I EARN SCREENTIME” at the end

1- Poster sized 11x14 with wording where it says “THEN TOMORROW MORNING I EARN SCREENTIME” at the end

Laminate them and have fun watching your kids maintain a little structure and have fun in the process.

SummerRules2.png

SORTING HAT CARMEL CUPCAKE TOPPERS

HARRY POTTER SORTING HATS.jpg

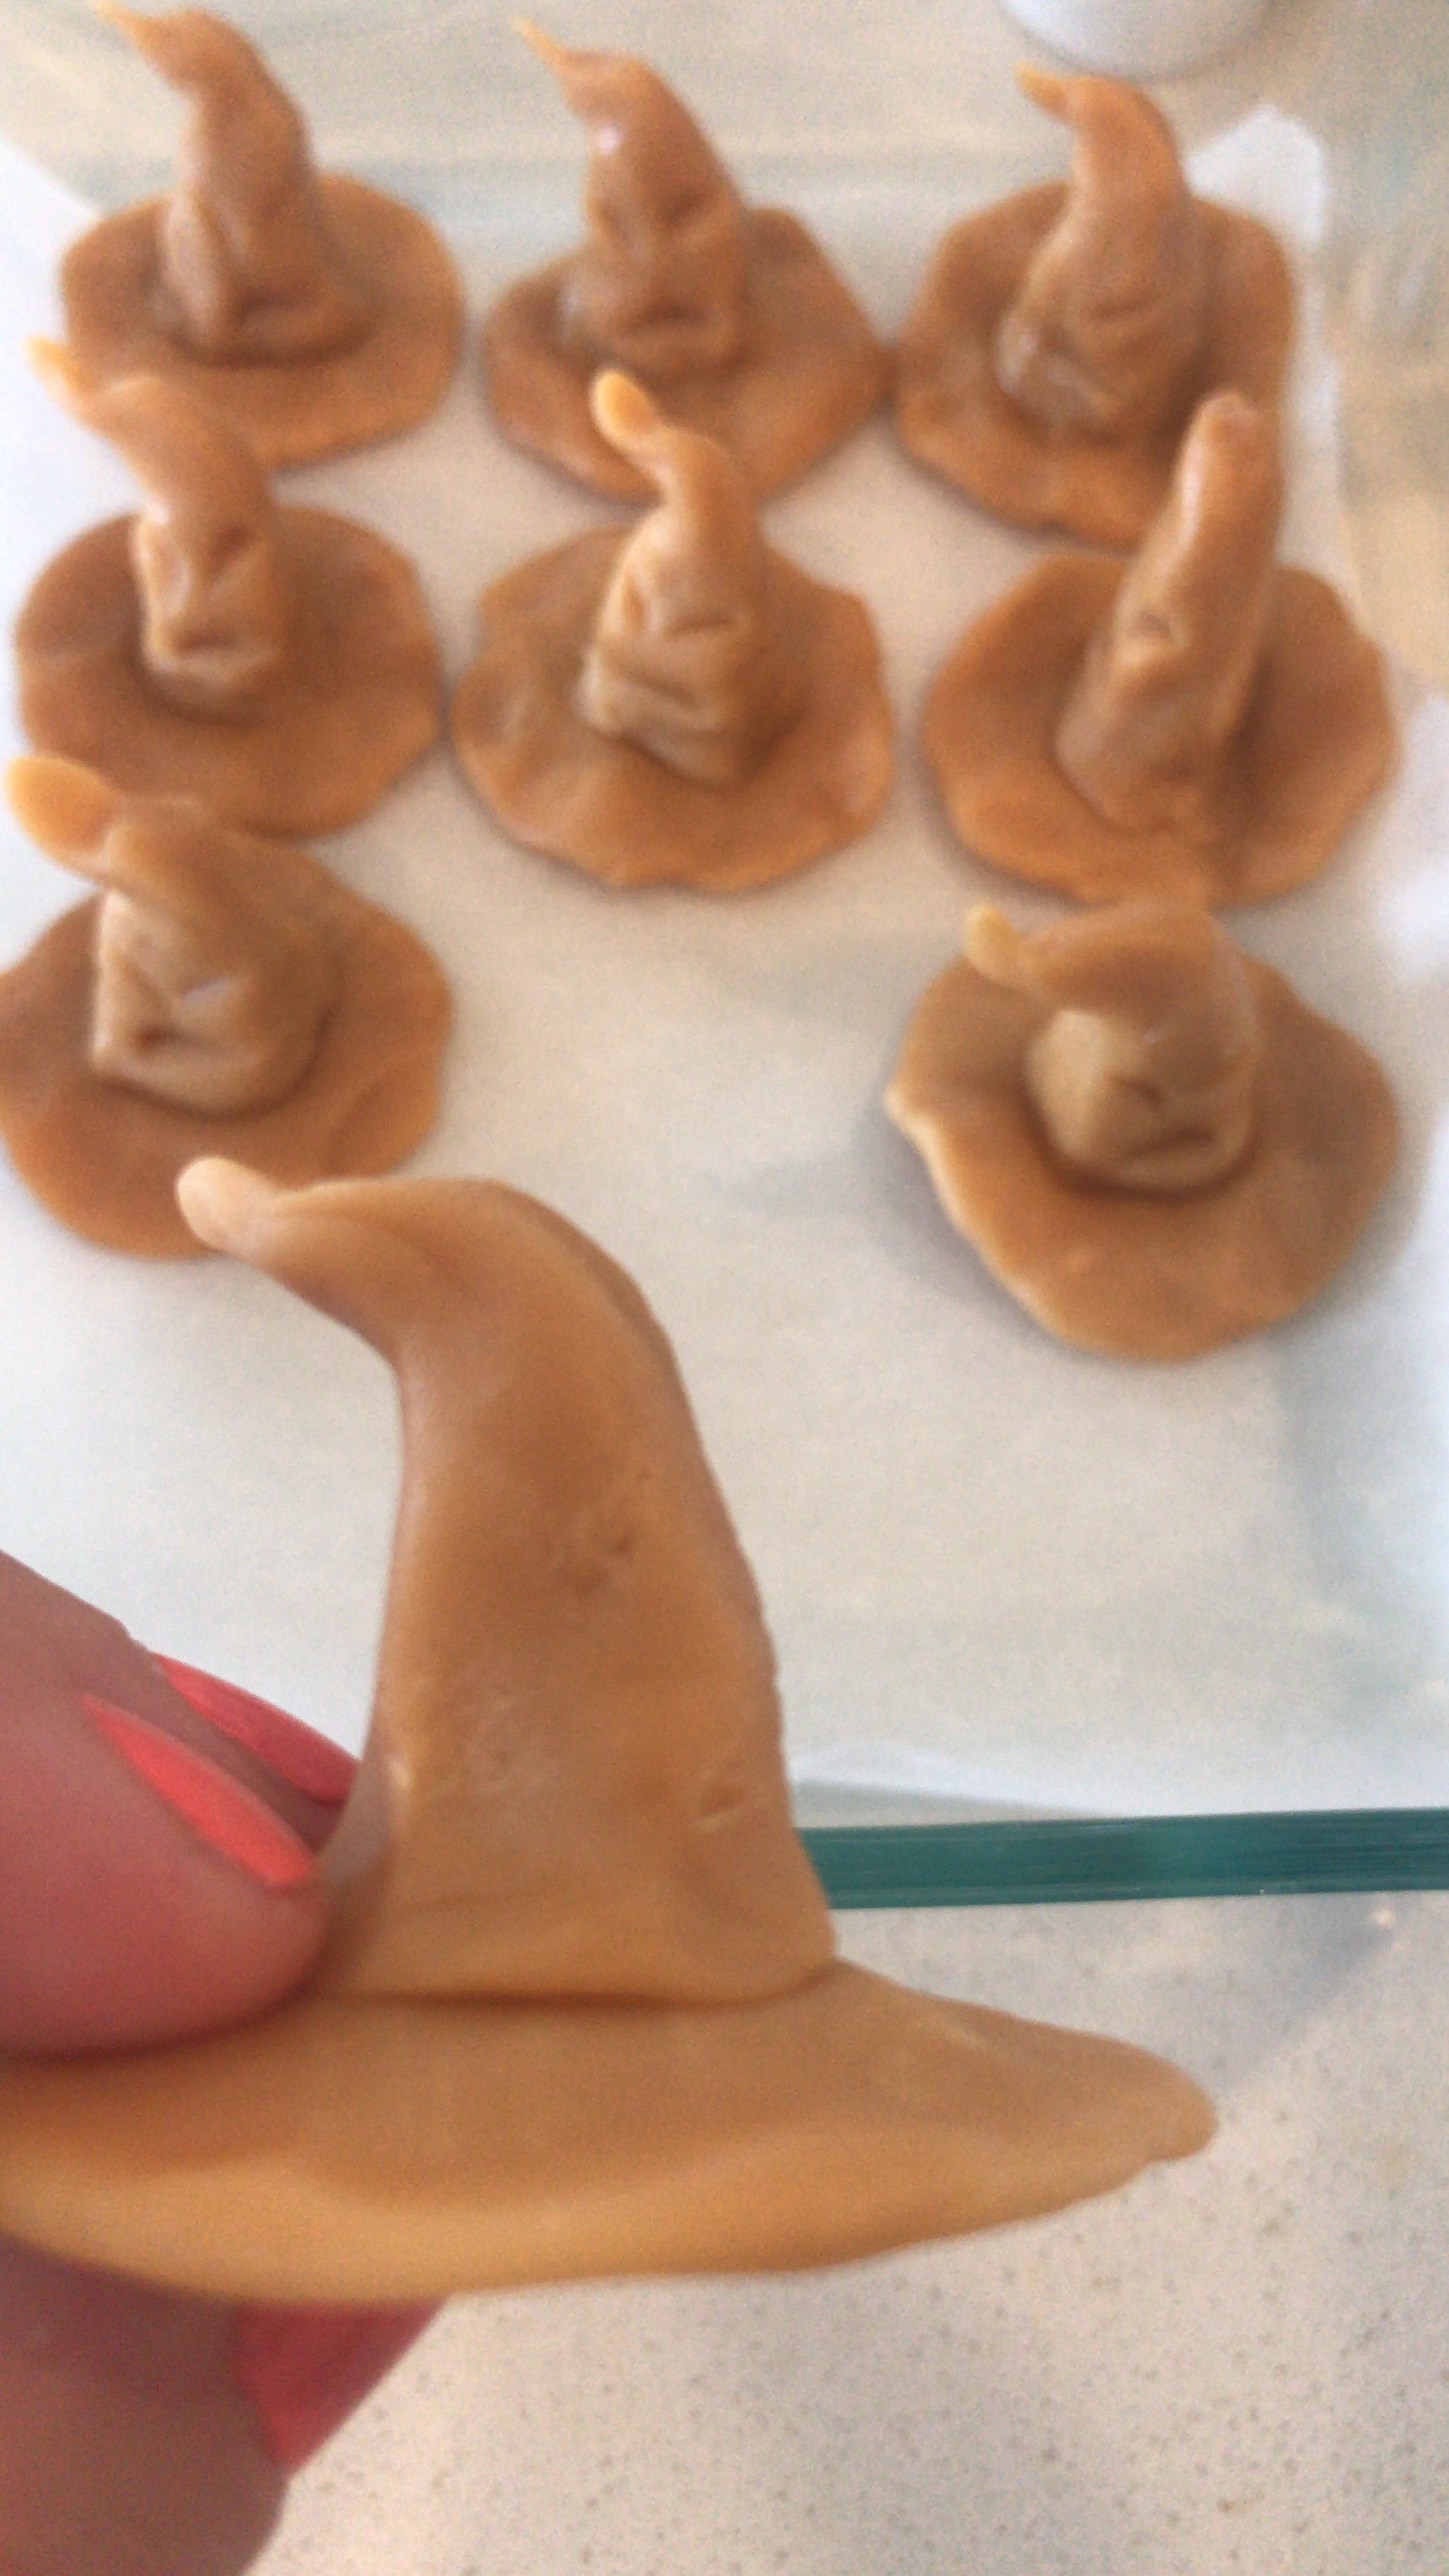
These caramel sorting hat cupcake toppers turned out so cute and were so easy! I originally saw the idea on instagram via @theshirleylife.

All you need is two pieces of wrapped caramel.

1- FOR THE BOTTOM PART OF THE HAT: Take 1 piece of caramel and unwrap it. Start warming up the caramel by pressing it with your fingers. Then flatten it out into a circle (it doesn’t have to be perfect) to make the bottom part of the hat. Set-aside on wax paper so it doesn’t stick to your counter.

IMG_0834.JPG

2- FOR THE TOP PART OF THE HAT: Take 1 piece of caramel and unwrap it. Start warming up the caramel by rolling it between your palms. Form it in to a cone shape. Gently press it onto the center of your first piece to make the hat shape.

IMG_0840.JPG

3- DETAILS: Use your fingers to pinch and mold the top of the hat so it resembles the Sorting Hat. Then take a small knife and poke it into the caramel to form the mouth and eyes. It’s so easy! The kids could also do this as part of an activity and easily make their own. We used ours as cupcake toppers for dessert.

Happy Sorting my friends!

HARRY POTTER PARTY ACTIVITIES

HARRY POTTER PARTY.png

For Stella’s Harry Potter birthday we had several different activities that the kids loved. We painted wands, made skele-gro slime, and played Every Botts Flavor Bean game.

HARRY POTTER SKELE-GRO.png

For the slime we used the borax and glue method (you can see an example here). I labeled the glue “troll snot” and the borax “ground unicorn horn” to make it extra fun. The girls were slime experts so thankfully I didn’t have to help much since I didn’t know how to make it. Just use your favorite slime recipe for this…or ask your favorite 9 year old and they probably know how to make it!

I purchased these little glass jars from Michaels craft store and made the little skele-gro labels you can download in my shop.

Screen Shot 2019-05-24 at 10.05.29 AM.png
Screen Shot 2019-05-24 at 10.05.36 AM.png
HARRY POTTER SKELE-GRO Copy (1).png

I printed and cut-out the labels. I then used clear packing tape to cover the label on both sides (you could just laminate it as well…but packing tape worked great). I then put the label on the jar. Some of the girls added glitter and color to their slime which also looked really cute.

Everyone was happy taking home their own jar of skele-gro!

These wands are soooo easy to make! And it is impressive how good and authentic they look with only a couple of thing and a little work. For Stella’s party we just set-out all the glued chopsticks and let everyone paint their own.

IMG_6667.JPG

Here is how I painted these ones…

First take a set of wooden chopsticks and break them in two. Then get out your hot glue gun. Note: a low-temp glue gun works best for this because you need to work with the glue and you’ll be less likely to get burned.

IMG_1004 2.JPG

Hold the tip of the chopstick in one hand and the glue gun in another. Start by piling up glue on one end of the chopstick. Let it dry…twirling it around slowly helps. Once it seems set keep piling glue to make a knobby-looking end. You can also twist it while piling the glue on to make a spiral of glue around the chopstick. Keep playing around with it until it looks old and magical. Let it dry completely.

IMG_1005 2.JPG

Once the chopstick is completely dry, paint it dark brown (I used acrylic brown paint) and let that coat dry. Apply another coat of brown paint if necessary.

Now to give it a little more depth, use black paint to brush it lightly (don’t cover all the brown) and push it all down into the cracks and crevices.

Once it is all dry take gold acrylic paint and lightly brush the tops of the ridges lightly with gold. Keep playing around with it. You can always repaint it if needed and start all over! These are such a fun and inexpensive party favor.

HARRY+POTTER+SORTING+HATS.jpg

For the sorting-hat cupcake topper activity you can read more here.

LEGO MINIFIGURE DISPLAY

My Post-5.jpg

I love lego as much as my sweet son Vaughn. So when I saw this vintage letterpress tray I knew it would be perfect for a lego minifigure display. I brought it home and added some screws and picture hanging wire to the back and hung it on the wall in Vaughn’s room. It makes us both so happy. I love that he gets little characters down and plays with them and then puts them back in their little spots.

My Post-7.jpg

A great place to look is on Etsy…search for Letterpress Tray and see all the results that come up. Happy organizing my friends.

My Post-8.jpg

I feel like it is the perfect decorative addition to his room. I love when form + function meet.

My Post-10.jpg

VAUGHN'S FIRST BIRTHDAY

My Post Copy.png
This is from when I had my blog over at Milkglass and Honey…our sweet Boy’s first birthday!

This is from when I had my blog over at Milkglass and Honey…our sweet Boy’s first birthday!

We celebrated sweet Vaughn's 1st birthday on Saturday! I can't believe a year has gone so fast...Vaughn's favorite part was digging in to his cake! Can you tell...he almost ate the whole cake. seriously.

DSC04980.JPG
DSC05020.JPG

For the invitations I scanned this cute image of Winnie the Pooh from a vintage book I have...then I made the balloons (invitation details on the back ). I attached the balloon to Winnie with yellow bakers twine. So Winnie swung back and forth from the balloon. They actually turned out really cute. Worth the work.

IMG_5459.jpg
IMG_5295.jpg

ABOVE: Tigger Tails...Marshmallows on a stick dipped in orange candy melts...drizzled with decorating gel.

IMG_5340.jpg

Doesn't our birthday boy look SOOOO big!

DSC04983.JPG

After lunch the kids packed-up a goody bag and we headed-off to see the Winnie the Pooh movie in theaters. It was really cute (only about 70 minutes long) and so fun to all go together.

DSC04998.JPG
DSC04970.JPG

Build Your Own Trailmix Bar

MY PREVIOUS BLOG WAS CALLED “MILKGLASS and HONEY”

MY PREVIOUS BLOG WAS CALLED “MILKGLASS and HONEY”

In the church I belong to we have a camp for the teenage girls in our area. We had about 78 girls and 38 leaders and I wanted to do a unique and fun treat for them during our service project activity. I saw a similar idea on pinterest (or course) and created my own printables for a Build your own Trailmix bar. Everyone loved it. I included all the usual fixings and a few random things (gummy bears) to keep the teenagers happy. It was a big success.

trailmixprintables (1).jpg

I hope you enjoy these free printables! Please respect the work I've done and do not share this print with others via email etc. Simply direct them to this page and let them download it for free. If you post photos etc. of this on your blog please link back...thank you!

Download the 24x36 Poster (print it as an engineering print at Staples) here

Download the bag labels here

trailmixfillings.jpg
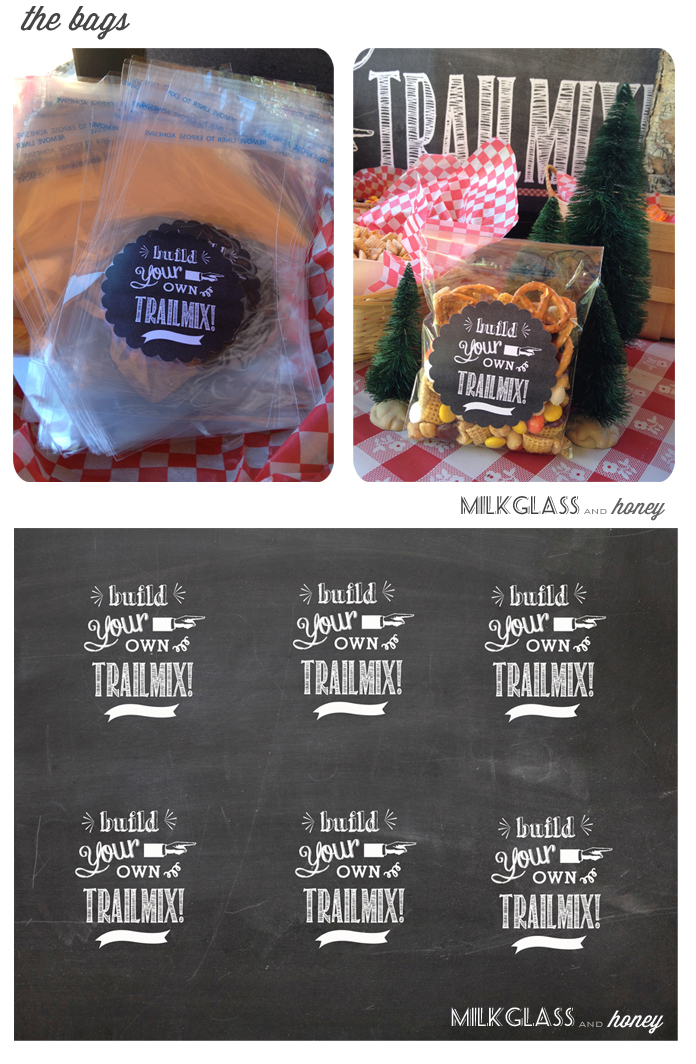
For the bags I purchased small (I think they are 4x6) flat cellophane bags with a self-adhesive strip at my local party supply store (Zurchers). 100 bags for $3.95. I then printed the bag labels on regular paper, used a punch to punch them and appli…

For the bags I purchased small (I think they are 4x6) flat cellophane bags with a self-adhesive strip at my local party supply store (Zurchers). 100 bags for $3.95. I then printed the bag labels on regular paper, used a punch to punch them and applied them with a gluestick. You could also print on sticker paper but it would be more expensive. I recommend using flat cellophane bags (rather than gusseted ones that open up large) because it takes less to fill them.

trailmix5.jpg

Source Ideas:

Baskets: Look at your local thrift store. I got all these baskets for around 25-50cents a piece.

Basket liners: Purchased in the Target dollar spot by the BBQ stuff they recently had.

Table cloth roll: purchased at a local food supply store. You can find these at any party store etc.

Tiny Bottlebrush trees: Lemax village trees...I got mine here 

Washi Tape: I used red gingham washi tape under the words "Build" and "Trailmix"


Also - the idea for these a large chalkboard printable printed as engineering prints originally came from Caravan Shoppe...an amazing design and prints website. Check them out for great printables of all kinds.

xoxo

Heather

Baby Shower

babyshower3.jpg

In April,  Caroline and I were able to throw a baby shower for our sweet friend the fabulous Becky Kimball. We went with a neon theme and had a really fun time putting all the details together...

I first created the invitation (above)  to set the tone... we then got to getting all the details for the party

I had seen some similar jars on pinterest so I started collecting food jars and then created these animal lid toppers (I'll do a full tutorial later)...

Becky.jpg
pbshower4 (1).jpg
pbshower3.jpg
IMG_9188 (1).jpg

Daughter/Son of a King Digital File

DaughterOf A King.jpg

So a few weeks ago my friend the lovely Amy asked me to create this quote as a printable for her daughters baptism and blessing. It turned out so cute. I've had so much response to it I decided to sell it as a digital file for those that are interested. It prints out very large on a 24x36 engineering print (it costs $3.59 to print...so affordable!) The actual lettering is about a 19x27 inch size. It has a large chalkboard border so you can cut it to fit the frame you choose. Ikea has one that fits it perfectly.

daughter-son (1).jpg
daughterofaking2.jpg

To purchase the Daughter/Son of a King Digital Download:

1- Go ahead and pay $5 via venmo

PLEASE SPECIFY IF YOU WANT THE "DAUGHTER" OR "SON" VERSION

2- I will email you with a specific link for you to download the file

3- You can print anywhere you like, but Staples will print it as an engineering file for $3.59. Just go online to Staples Engineering Prints page and upload the file. Then you can pick it up at your local staples store.

4- It has a large chalkboard border around it so you can cut it to fit a standard frame. Ikea sells one that is about 19x27 inches and it fits perfectly.

Amy was kind enough to share these photos (below) of the finished print. And are you dying how cute Gretas room is! You can see a tour here